|
E-Maxx Reviews
I've decided to post a few of the parts I used and give a quick look at installation, value, strength, etc. All these reviews are my own opinions and might greatly vary with someone else.
|
|
|
Traxxas Big Bore Shocks
Price: 80 dollars for 8
Value: 7 out of 10 (can't hold up a heavy E-Maxx)
Material: Aluminum
Company: Traxxas
What is included?
8 complete aluminum shocks
8 Big Bore Springs (Very Soft)
2 Bottles of Shock Oil
A Variety or pre-load spacers
Installation Tips: Change the springs
-The Big Bore springs are awesome but will not hold up your heavy maxx at all if you have alot of aluminum installed. I recommend using 4 RC Raven Hevay Duty springs (one in each outside corner).
Installation is not that hard. Take off your old shocks and put on your new shocks. The one recommendation I would give is to make sure all the bubbles get out of the oil. If you don't get all of the bubbles out performance will greatly diminish. You will hear a squeaky sound if some of the bubbles did not get out.
Installation Time
30-45 minutes
|
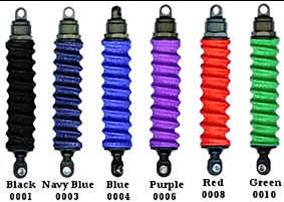
Socks4Shocks Shock Covers
Price: 12 dollars for 4
Value: 10 out of 10 (saves shock rebuilding)
Material: Unknown, but sprayed with dirt and stain blocker
Company: Socks4Shocks
What is included?
4 Socks
Keeps all of that sand and mud you get in your E-Maxx shocks out. I used to have to re-build my shocks alot because of all the grime. However, using shock covers keeps my shocks in excellent condition. Spending 24 dollars for 8 shock covers is well worth the investment. Installation is a breeze.
Installation Time
5 minutes
|
|
|
|
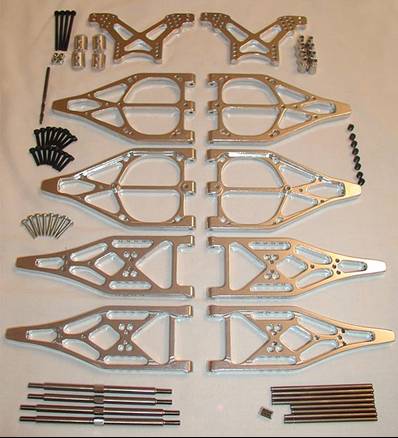
Unlimited Engineering Stage 3 Widetrac Suspension
Price: 200 dollars
Value: 9 out of 10 (EXT Somewhat Better)
Material: Aluminum
Company: Unlimited Engineering
What is included?
4 Lower Suspension Arms
4 Upper Suspension Arms
2 Shock Towers
4 Titanium Turnbuckles
8 Titanium Hinge Pins
8 Shock Standoffs
4 Body Support Posts
16 or so E-Clips
All necessary hardware and tools included
Comments
Great alternative to the EXT supension set which is 400 dollars. Widetrac version adds 11/16" to both sides providing for a great increase in stability. This almost reduces the chance to zero of your E-Maxx rolling over in tight turns.
Installation Tips
1.) The instructions tell you to use the hinge pins to clear out excess aluminum buildup in the suspension arms. Use a hammer LIGHTLY to clear this. If a hingepin bends when you're doing this, like it happened to me, simply bang it back into place with a hammer.
2.) Take your time while installing everything it may become frustrating. Place the E-Clips on before you attach the bulkheads to anything else. This makes life much easier.
Note: This suspension set may affect your E-Maxx's suspension capabilities. You will either need to buy a new shock set or buy new springs for your stock set. This is not just my suggestion but Unlimited Engineering's suggestion as well.
Installation Time
60-80 Minutes
|
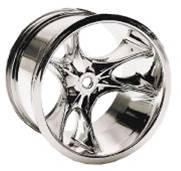
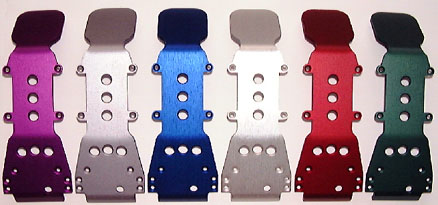
Hardcore Racing Aluminum Chassis
Coming Soon
|
|
|
|
RPM StableMaxx Monster Clawz
Coming Soon |
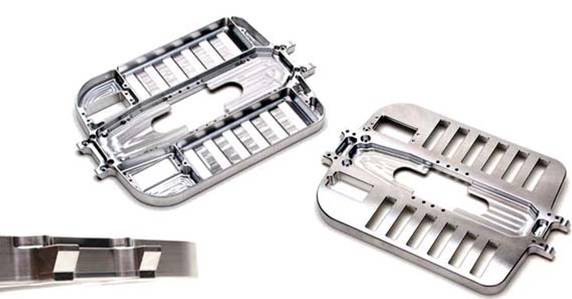
Ballistic Stupidity F/R Skid Plates
Coming Soon
|
|
|
|
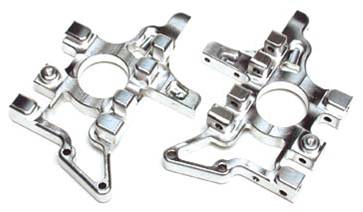
Hardcore Racing Bulkheads
Coming Soon |
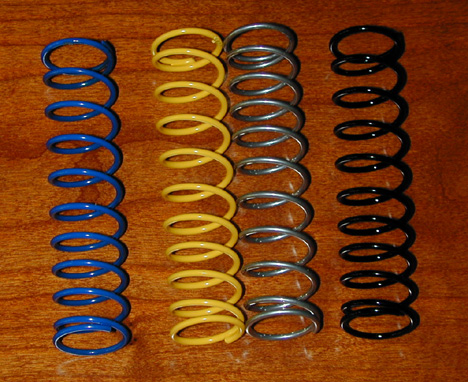
RC Raven Heavy Duty Springs
Price: 20 dollars for 8
Value: 10 out of 10
Material: Aluminum
Company: RC Raven
Comments
These are excellent for those of you have heavy E-Maxxs' with alot of aluminum such as mine. These are a worth while investment if you're running Big Bore Shocks.
Installation tips
Installation is farely easy and only requires removal of your old springs. I suggest that you try one shock in each exterior corner first. These things are very strong. If you feel that you need more stiffness simply add your other springs to the interior shocks.
Installation Time
10-15 Minutes
|
|
|
|
Pro-Line Maxx Mashers
Coming Soon |
|
Ballistic Batteries 3000 nimh
Coming Soon
|
|